
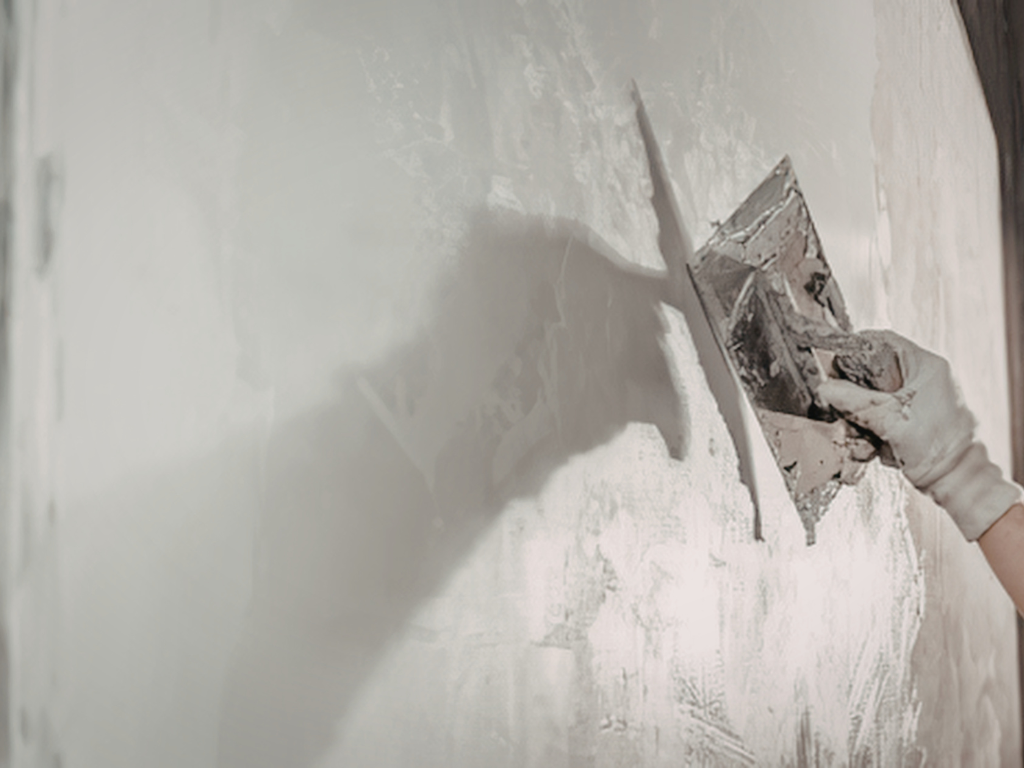

Wall surface repair in Singapore looks easy until the patch dries lighter than the wall around it. In June 2025, a Yishun retiree was hospitalised after spalling concrete dropped from his bathroom ceiling: surface damage is not always cosmetic. This blog walks you through crack triage, patching, skim coating and repainting so the repair disappears, plus when a job calls for minor renovation works.
What does wall and ceiling surface repair actually cover?
Wall and ceiling surface repair covers the layer you can see and touch: paint, skim coat, plaster and the first few millimetres of substrate. It includes filling hairline cracks, patching screw and anchor holes, re-skimming uneven sections, and repainting so the repaired area matches the surrounding surface. It does not cover structural work to columns, beams or load-bearing walls, which requires a professional engineer.
The substrate decides the method. HDB flats are built from prefabricated reinforced concrete with a plaster or skim finish, so repairs use cement-based or acrylic fillers that bond to masonry. Many condo bedrooms and almost all office fit-outs use plasterboard partitions, which take lightweight joint compound and, for larger holes, a backing patch. Use a plasterboard filler on concrete and it will sit proud and crack; use cement filler on plasterboard and you add weight the board was never meant to carry.
How do you tell if a wall crack is serious or just cosmetic?
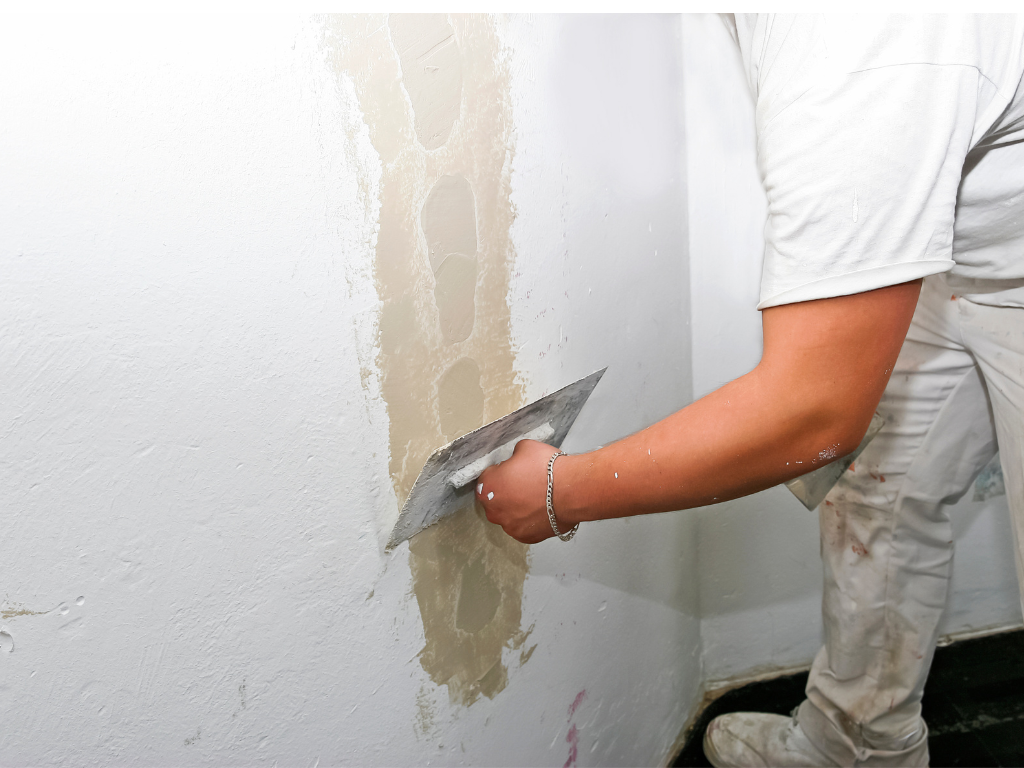
Run three checks: width, direction, recurrence. A crack under 0.3mm wide, running randomly or vertically through the paint and plaster layer, is almost always shrinkage and is safe to fill. A crack wider than 3mm, one that runs diagonally from a door or window corner, or one that steps through brickwork joints deserves a professional assessment before anyone touches it with filler.
Recurrence is the check most homeowners skip. A crack that reopens within months of being filled is telling you the building is moving at that point, usually thermal expansion at a wall-ceiling junction or a partition joint. Rigid filler cannot hold a moving joint. That crack needs a flexible acrylic sealant or a mesh-reinforced skim, not a third round of putty.
In practice, the overwhelming majority of cracks we see in Singapore homes are shrinkage cracks in the plaster layer, not the structure. Worth noting: HDB’s own maintenance guidance treats fine ceiling cracks as a surface issue first and an inspection trigger second.
Why do cracks keep coming back after you paint over them?
Paint cannot bridge a moving crack. A dried emulsion film is roughly 0.05mm thick per coat; a crack that opens and closes with daily temperature swings will tear straight through it, often within one wet season. Painting over a crack hides it for weeks, not years.
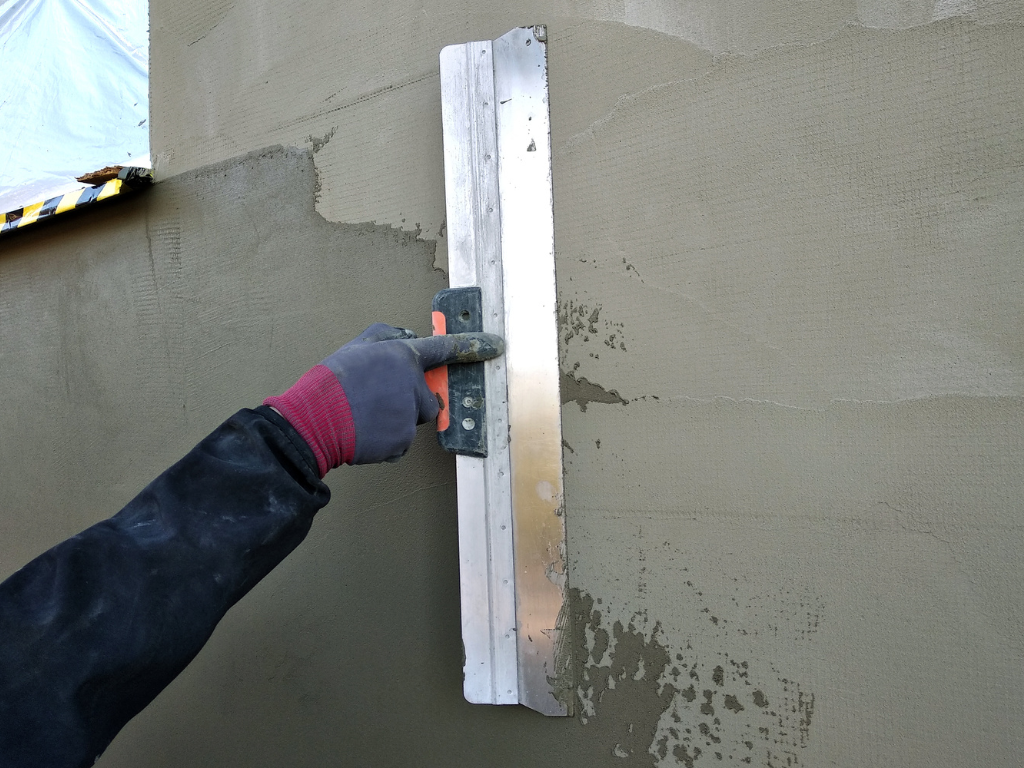
A repair that lasts works in this order: rake the crack open to a few millimetres so filler has something to grip, vacuum out the dust, fill in layers of no more than 3mm per pass, then sand flush with 120-grit followed by 240-grit paper. For cracks that have already reopened once, bed a fibreglass mesh tape into the filler before the final skim. The mesh spreads movement across a wider area instead of letting it concentrate on one line.
How do you patch a hole in the wall so it stays flat?
Match the fix to the hole size. Screw holes under 10mm take one pass of filler, slightly overfilled, then sanded flush after drying. Wall-plug and anchor holes between 10mm and 30mm need the plug removed first, then two filler passes, because a single deep fill shrinks as it cures and leaves a dimple. Holes above 50mm in plasterboard need a backing piece or an aluminium mesh patch before any compound goes on; in concrete, they take a polymer-modified patching mortar.
The flatness test is simple: drag a metal ruler or filling blade across the dried patch. If it rocks, the patch is proud and needs more sanding. If light shows under the centre, it shrank and needs a second skim. Most of the “obvious” patches you see in homes failed this test, not the filling itself. For TV bracket removals, curtain rail changes and the dozen anchor holes a tenancy leaves behind, our handyman patching service handles the fill, sand and touch-up in a single visit.
When does a wall need a skim coat instead of spot filling?
Skim coat the whole wall when the damage is spread rather than local. The practical thresholds: visible defects across more than a third of the surface, dense crazing (networks of fine cracks), paint that has peeled back in sheets, or walls scarred by old wallpaper adhesive. Twenty spot fills on one wall will each flash differently under light; a 1mm to 3mm skim across the full surface resets it to one uniform plane.
A skim is a two-coat job in Singapore conditions. Each coat needs around 24 hours to cure in our 80-plus per cent humidity before sanding, so a proper skim-and-paint on one room runs two to three days, not one afternoon. Anyone quoting same-day skim and paint is painting onto soft compound, and the roller will drag it.
Why do patches show, and how do you repaint to match?
Patches show because of sheen, not colour. Fresh filler and skim coat absorb paint faster than the sealed, aged surface around them, so the patched area dries flatter or glossier than the rest of the wall even from the same can. Painters call it flashing. It is invisible head-on and obvious the moment daylight rakes across the wall at a low angle.
Two rules defeat it. First, seal the patch with a primer or a thinned first coat so the topcoat absorbs evenly, and feather each coat 50mm to 100mm beyond the patch edge. Second, repaint to the nearest natural break: corner to corner, or skirting to ceiling line. The smallest paintable unit is the wall, not the spot. Spot-dabbing also fails on colour, because paint on a wall fades; a two-year-old white and a fresh white from the identical code are visibly different shades.
This is where repair and repainting stop being separate trades. Our professional painting service does the prep, priming and wall-to-wall recoat with genuine Nippon Paint and a 1-year warranty, which is what “blends in” actually requires.
What is different about ceiling cracks in Singapore flats?
Ceilings fail for reasons walls rarely do: water from above and gravity below. The two Singapore-specific problems are ceiling leaks and spalling concrete, and both are documented by HDB rather than by paint brands.
A ceiling leak in an HDB flat usually means the waterproof membrane and screed in the floor slab above have worn out. The fix HDB recommends is re-screeding the upstairs bathroom floor, with repair costs typically shared between the two affected owners, according to the MyNiceHome maintenance guide. Patching and repainting a stained ceiling before the leak above is fixed wastes the repair; the stain returns with the next shower. If the source is a visible pipe rather than the slab, start with our guide to fixing a leaking pipe.
Spalling concrete is the more serious one. Carbonation lets moisture corrode the steel bars inside the slab, and the expanding rust pushes the concrete cover off, which is why it shows up first as ceiling cracks and bulges in bathrooms and kitchens. HDB’s guidance is blunt: the owner is responsible, and delay makes the affected area larger. The June 2025 Yishun case shows the stakes; the retiree’s daughter told The Straits Times “the ceiling suddenly collapsed without any warning,” and he needed more than 10 stitches.
Should you DIY wall repair or call a professional, and what does it cost?
DIY the small stuff: single screw holes, isolated hairline shrinkage cracks, one anchor hole from a relocated hook. A tube of acrylic filler, two grades of sandpaper and a sample pot will handle those. Call a professional for recurring cracks, anything overhead, water staining, suspected spalling, and any wall that needs skimming, because overhead sanding and full-wall finishing are where DIY results visibly fall apart.
On time and money: a patch-and-blend on one wall is a half-day of labour split across two short visits to allow curing. A full-room skim and repaint runs two to three days. For scale, Fix It Papa’s own minor renovation pricing places focused improvement works in the $3,000 to $15,000 band, while single-visit surface repairs sit far below that. The honest variable is access and drying time, not square metres.
The short version
An invisible repair is three decisions made in the right order: diagnose why the surface failed, fill with a material matched to the substrate, and repaint to the nearest natural break rather than the patch. Skip any one of the three and the wall will tell on you the next time afternoon light comes through the window.
Got a crack, hole or stained ceiling you want gone without a renovation-sized bill? Send a photo on WhatsApp to +65 8091 6366 or request a free estimate and we will tell you straight whether it is a one-visit fix.
FAQs About Wall Surface Repair Singapore
Can I just paint over a hairline crack in my HDB wall?
No. Emulsion paint dries to a film of roughly 0.05mm per coat and tears the next time the crack moves. Rake the crack open, fill it with acrylic filler, sand flush, then paint. A painted-over crack in a Singapore flat typically reappears within one wet season.
Who pays when a ceiling leak comes from the flat upstairs?
Both owners usually share it. HDB’s maintenance guidance treats inter-floor leaks as a joint responsibility between the upper and lower units, with re-screeding of the upstairs bathroom floor as the recommended fix. Top-floor units with roof leaks go to the Town Council instead.
What filler should I use on concrete walls versus partition walls?
Concrete and plastered masonry, the standard in HDB flats, take cement-based or acrylic wall filler. Plasterboard partitions take lightweight joint compound, plus a backing or mesh patch for holes above 50mm. Using plasterboard compound on concrete leaves a soft patch that cracks on sanding.
How long should filler dry before painting in Singapore’s humidity?
Allow 24 hours per layer for standard fillers and skim coats at Singapore’s typical 80 per cent relative humidity, longer for fills deeper than 3mm. Painting onto compound that feels dry but has not cured causes flashing, where the patch dries to a different sheen than the wall.
Does spalling concrete mean my block is unsafe?
Not immediately, but it must not wait. HDB classifies spalling as a surface maintenance problem caused by carbonation corroding the steel bars, and states the affected area grows the longer it is left. The June 2025 Yishun ceiling collapse started as exactly this kind of deterioration.
Leave a Reply
You must be logged in to post a comment.