
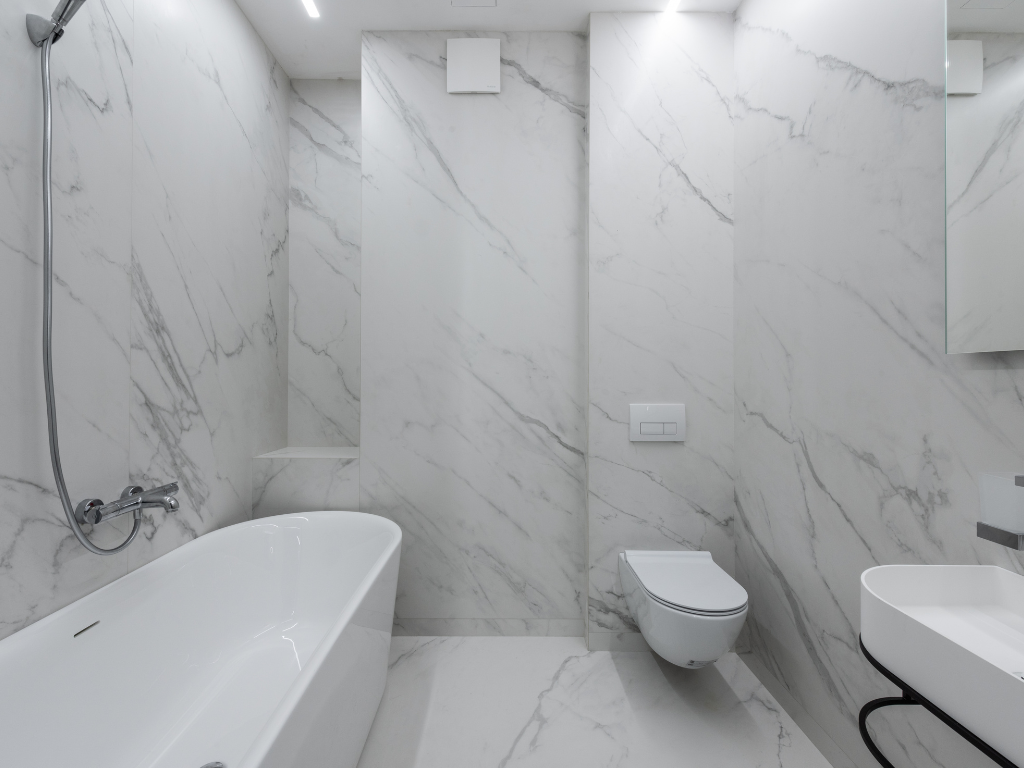

HDB BTO bathrooms come pre-tiled with a tested waterproofing membrane underneath, which is why bathroom fixture installation singapore work has stricter rules than dry-area mounting. Drill too deep and you compromise the membrane; drill too shallow and the rail falls in 14 months. This blog walks you through the 35mm drill depth rule, the 3-year BTO tile restriction, anchor selection, and 2026 pricing for general handyman service in Singapore.
How much does bathroom fixture installation cost in Singapore in 2026?
Bathroom fixture installation in Singapore runs $40 to $200 per item in 2026 depending on accessory type and substrate complexity. A standard wall-mounted towel rail sits at $40 to $70. A heated towel rail (needs LEW work) runs $180 to $350. A mirror cabinet at $80 to $150. A grab bar properly installed at $80 to $150. A vanity basin replacement at $250 to $500 including silicone sealing.
Pricing scales with three variables. Number of fixing points, whether the install is in the wet zone (shower area requires stainless steel hardware) or dry zone (vanity area accepts standard fixings), and whether silicone sealing is included. A bathroom fixture quote that excludes silicone is incomplete because the tile-fixture interface needs sealing within 24 hours or moisture starts wicking into the bond layer.
Multi-item bookings reduce per-item cost. A bathroom refresh with towel rail, robe hook, mirror cabinet, and shelf typically lands at $250 to $450 in a single visit. The pricing logic sits in handyman pricing in Singapore for 2026, covering the five-component breakdown of a fair quote.
Worth noting: quotes that don’t itemise silicone sealing leave the most important moisture protection step to chance. Honest quotes name the brand of silicone (Dow Corning 791, GE Silicone II, or equivalent wet-area grade) and the linear metres covered.
Why can’t I replace the tiles in my new BTO bathroom?
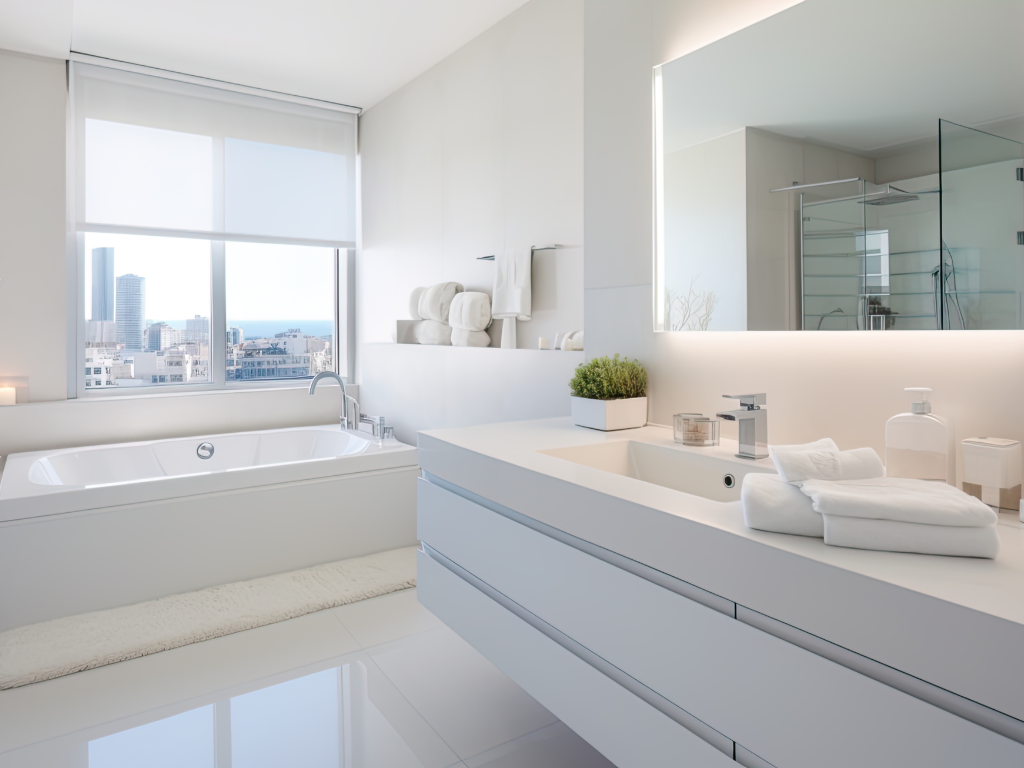
HDB explicitly prohibits replacing wall and floor tiles in BTO bathrooms for 3 years from the date of Temporary Occupation Permit (TOP) issuance. The rule is published in HDB’s resident renovation guidelines and applies to every new BTO flat regardless of estate or block.
The reasoning is engineering, not bureaucracy. HDB lays a tested waterproofing membrane below the original tile system, and disturbing the tiles within the first 3 years voids the integrity of that membrane before it has been validated by occupation. Overlay methods (laying new tiles or overlay panels on top of existing tiles) remain permitted within the 3-year window. Hacking down to the substrate is the prohibited action.
For bathroom fixture installation during the restricted period, drilling through the original tile to mount accessories is permitted, but the drill depth must stay above the membrane layer. The practical limit is 35mm. Drilling beyond 35mm risks puncturing the polyurethane or cementitious membrane between the cement screed and the tile bed, which causes water seepage that can take months to manifest as ceiling staining in the unit below.
In practice, BTO bathroom fixture installation in the 3-year window uses 6mm or 8mm plugs at 30mm depth maximum. A handyman who quotes “deep anchoring for heavy fixtures” in a BTO bathroom is either uninformed or willing to void HDB warranty coverage. The cleaner approach is selecting accessory weights that work within the 30mm depth budget.
What’s the right anchor for towel rails on HDB bathroom tile?
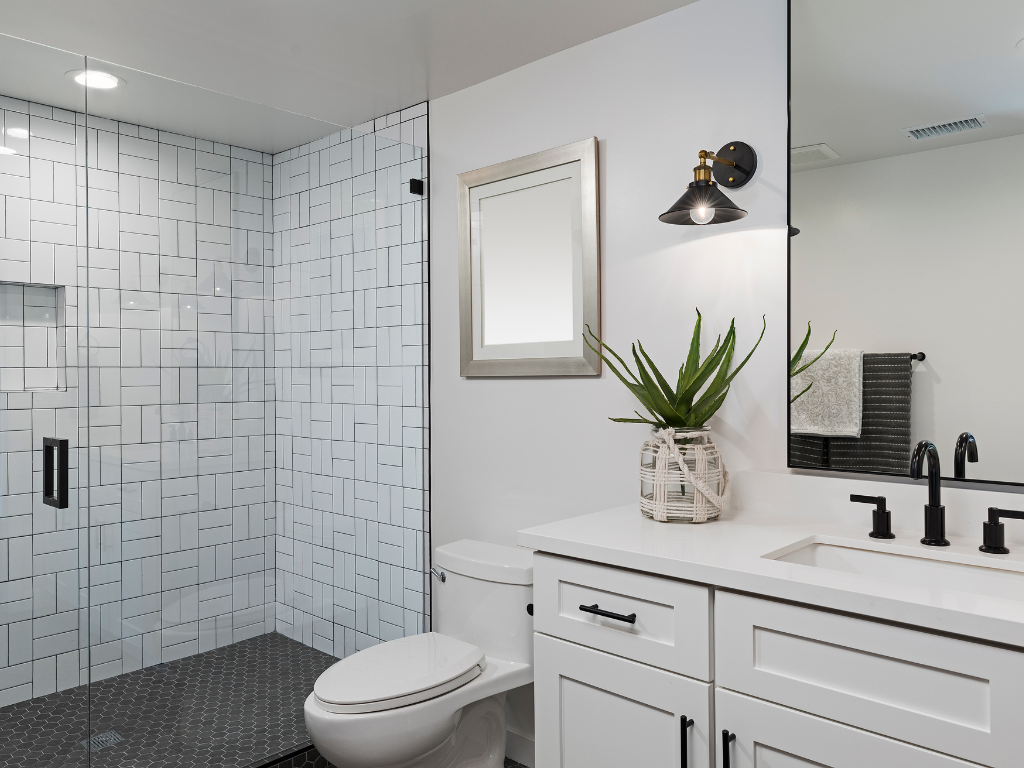
For HDB bathroom tile, use a 6mm masonry plug with a stainless steel or brass screw, drilled to 30mm depth, sealed with neutral-cure silicone before tightening the rail bracket. The combination handles standard towel rails up to 15kg loaded.
Stainless steel and brass fasteners are non-negotiable in wet zones. A standard zinc-plated screw corrodes within 18 to 30 months in Singapore’s humidity, leaving a rust trail down the tile and weakening the fixing as the screw thread degrades. Stainless steel 304 grade lasts 10 to 15 years; brass holds up similarly with better aesthetics for chrome-finish accessories. The 80-cent saving per screw becomes a $200 rail replacement bill three years later.
For larger or load-bearing accessories (shower benches, grab bars rated for body support), the fixing changes. Grab bars need 8mm plugs at 35mm depth (the maximum BTO-safe depth) with two fixings per end minimum. Shower benches use four 8mm plugs minimum, distributed across the seat frame to spread load.
The wet-zone fixing hierarchy in detail: shower zone fixtures (within 600mm of the floor trap, anywhere water spray reaches regularly) require stainless steel or brass. Mirror cabinets above the sink in dry-zone bathroom areas can use standard 8mm plugs with zinc-plated screws because direct water exposure is minimal.
How do I install a mirror cabinet in a BTO bathroom without damaging tile?
The drill sequence prevents tile cracking and membrane puncture. Mark fixing points with pencil on masking tape, drill at low speed with no hammer action for the first 2mm to break the tile glaze, switch to hammer mode but cap drill depth at 30mm using a depth stop on the bit. Apply neutral-cure silicone in each hole before inserting the plug.
Mirror cabinet installation typically uses four 6mm plugs in the four corners or two larger 8mm plugs at the top mounting cleat with two stabiliser fixings at the bottom. The mounting cleat takes most of the load; the bottom fixings prevent rotation rather than carrying cabinet weight. For loaded cabinets (typical 15 to 25kg with bottles, medication, and accessories), 8mm plugs at the top are the correct call.
The most common BTO mirror cabinet failure: contractors drilling to 50mm depth because the bit they had on hand had no depth marker. The drilled hole reaches the waterproofing membrane and creates a moisture pathway. The unit below reports ceiling staining 8 to 14 months later, the upper unit’s mirror cabinet still looks fine, and tracing the source costs $400 to $800 in diagnostic plumbing work before the membrane breach is identified.
Worth noting: silicone in the plug hole before inserting the plug is the trade habit that separates careful work from rushed work. The silicone bonds the plug to the cement substrate and seals against moisture wicking through the hole interior. Skipping this step doesn’t show up in week one; it shows up at month 18 when the plug starts loosening from cyclical humidity expansion.
Can a handyman install a grab bar properly in an HDB bathroom?
Yes, but the installation must engage the cement substrate behind the tile, not the tile itself, and must use stainless steel hardware rated for the user’s full body weight. A grab bar is a safety-critical fixture, not a decorative accessory.
For elderly or accessibility-focused installs, grab bars need to hold 130kg minimum per fixing point under sudden load (someone slipping and grabbing the bar at full body weight plus acceleration). Two 8mm plugs at 35mm depth with grade 304 stainless steel screws handle the load with appropriate safety margin. The bracket itself must be metal (cast aluminium or stainless steel), not plastic; plastic brackets crack under shock loads.
Grab bar placement matters as much as fixing. The standard placement is 850 to 900mm from finished floor level for horizontal bars, vertical bars from 750mm to 1200mm height. Showers benefit from L-shaped or 45-degree angled bars at the seat entry point. WC areas use horizontal bars on the side opposite the toilet paper holder for transfer support.
The fixing should never engage only the tile or the grout. If a handyman quotes grab bar installation without mentioning substrate depth, ask which substrate they’re anchoring into. Tile-only fixings fail under shock load even with the right hardware because the tile-to-substrate bond layer becomes the weakest link.
For elderly users or homes with mobility considerations, the install often pairs with anti-slip floor treatment and threshold modifications. These fall under broader bathroom accessibility work that overlaps with minor renovation cost in Singapore scope rather than pure handyman work.
Do I need to seal bathroom fixtures with silicone after installation?
Yes. Every tile-penetrating fixture in a bathroom needs neutral-cure silicone sealant at the bracket-tile interface within 24 hours of installation. Skipping this step lets moisture wick through the fixing hole into the bond layer behind the tile, which causes tile detachment over 12 to 36 months.
Use neutral-cure silicone (not acid-cure, which corrodes metal fittings). Brands commonly used in Singapore installs include Dow Corning 791, GE Silicone II Bath, and Bostik 7100. Apply a 3 to 5mm bead around the bracket perimeter and into the plug hole before final tightening. The silicone cures in 24 hours and reaches full bond at 7 days; the bathroom can be used after 24 hours but heavy spray should wait 48 hours.
The membrane behind the tile system is critical, and BCA’s Good Industry Practices guide on waterproofing for internal wet areas covers the engineering reason: the membrane is the primary moisture barrier, but bracket penetrations through tile create secondary moisture pathways that the membrane wasn’t designed to handle alone. Silicone at the interface restores the seal continuity.
Worth noting: cheap clear silicone from generic hardware stores often lacks anti-mould additives. The seal turns black with mould within 6 to 12 months in Singapore’s humidity. Sanitary-grade silicone with anti-mould treatment costs 30 to 50% more but stays clean for 5 to 8 years.
What if I want to move a bathroom fixture during minor renovation?
Moving a bathroom fixture is permitted outside the 3-year BTO restriction, but the original fixing holes must be repaired and the moved fixture properly sealed at the new location. The pricing differential between moving a fixture versus installing fresh runs $80 to $200 per fixture because the old hole repair is a separate scope.
For accessories that involve plumbing connections (taps, shower mixers, bidet sprays), moving the fixture crosses into PUB-regulated work. Singapore’s plumbing work scope is covered under PUB’s plumbing works framework, and any work involving water supply line modifications, drainage rerouting, or fixture connection changes requires a PUB-licensed plumber. A handyman can move a towel rail or mirror cabinet; a plumber moves the basin or shower.
The hole repair workflow for moved accessories: dig out old plug remnants, fill hole with epoxy-modified cement compatible with the tile substrate, sand flush, apply colour-matched silicone or grout to disguise the patch. The patch never fully disappears on glossy tile; the cleaner approach for visible relocations is replacing the affected tile if matching stock is available, which falls under hollow tile repair in Singapore scope.
For accessories near concealed plumbing (mirror cabinets above vanities, towel rails next to shower walls), check for hidden pipes before drilling the new location. A low-cost wall scanner (under $80 from any major hardware retailer) prevents the catastrophic failure of drilling into a concealed water line.
When does a bathroom install need an LEW-certified electrician?
Any bathroom fixture with hardwired electrical connection (heated towel rails, ventilation fans, vanity strip lighting, in-mirror demister or LED systems) needs an LEW-certified electrician for the electrical scope. A handyman handles the bracket and bracket fixing; the electrical connection is a separate licensed trade.
Heated towel rails are the most common crossover. The rail itself mounts with the same logic as a standard rail (4 plugs, stainless screws, 30mm depth in BTO), but the 240V supply needs a dedicated circuit with proper earthing and RCD protection. Singapore’s electrical safety standards require LEW certification for all bathroom electrical work because of the wet-environment shock hazard. The scope falls under EMA’s regulatory framework, not handyman work.
Vanity strip lighting is the second crossover. LED strip lighting integrated into a mirror cabinet or vanity sometimes uses 12V or 24V low-voltage supply, which is closer to handyman territory, but the 240V transformer connection and the cable routing through bathroom walls still requires LEW oversight on most installs.
For condo installations, MCST drilling restrictions may also apply (typically weekdays 9am to 5pm only), which the condo handyman work and MCST rules breakdown covers in detail.
Conclusion
Bathroom fixture installation in Singapore is more constrained than dry-area mounting because the waterproofing membrane behind tile is non-negotiable. The 35mm drill depth limit, stainless steel fixings in wet zones, mandatory silicone sealing, and the 3-year BTO tile restriction are the four rules that separate clean installs from the leaks the unit below reports 14 months later. Get all four right and the rail, cabinet, or grab bar stays put for a decade.
For a written quote covering bathroom accessory installation with stainless steel hardware, proper drill-depth control, neutral-cure silicone sealing, and LEW coordination for any electrical scope, request a written Fix It Papa quote with photos of your bathroom and the accessories to be installed.
FAQs About Bathroom Fixture Installation Singapore
How long does bathroom fixture installation take in Singapore?
A single accessory install (towel rail, robe hook, single shelf) takes 30 to 60 minutes including drilling and silicone sealing. A multi-item bathroom refresh (4 to 6 accessories plus mirror cabinet) runs 2 to 4 hours in one visit. Heated towel rails or LEW-coordinated electrical work add 1 to 2 hours for the electrical scope on top of the standard mounting time.
Can I install a mirror cabinet in my BTO bathroom within the first year?
Yes. HDB’s 3-year tile restriction prohibits replacing tiles, but mounting accessories through the existing tile is permitted at any time. Drill depth must stay at or below 35mm to protect the waterproofing membrane. A standard mirror cabinet mounted with 6mm plugs at 30mm depth in 2026 BTO bathrooms is fully within HDB’s permitted scope.
What height should bathroom towel rails be installed at?
Bathroom towel rails are typically installed at 1200 to 1400mm from finished floor level for adult-height bath towel rails, and 900 to 1100mm for hand towel rails next to vanities. Robe hooks sit at 1500 to 1700mm. Heights below 800mm fall within potential splash range from the shower and should use stainless steel hardware.
Do I need silicone behind the tile when installing accessories?
Yes. Neutral-cure silicone applied in the drilled hole before plug insertion seals the plug-substrate interface against moisture wicking, and a 3 to 5mm bead around the bracket exterior seals the tile-bracket interface. Brands like Dow Corning 791 or GE Silicone II Bath are standard. Skipping this step causes accessory failure at 18 to 36 months as plugs loosen from humidity cycling.
What if my contractor drilled too deep and hit the waterproofing membrane?
Stop water exposure to the affected area immediately and engage a PUB-licensed plumber for diagnostic. A breached waterproofing membrane causes seepage that manifests as ceiling staining in the unit below within 8 to 14 months. Repair requires hacking back to the membrane layer, patching with compatible polyurethane or cementitious membrane, and retiling. Cost: $1,500 to $4,000 depending on affected area.
Leave a Reply
You must be logged in to post a comment.